How Does Your Herb Garden Grow?
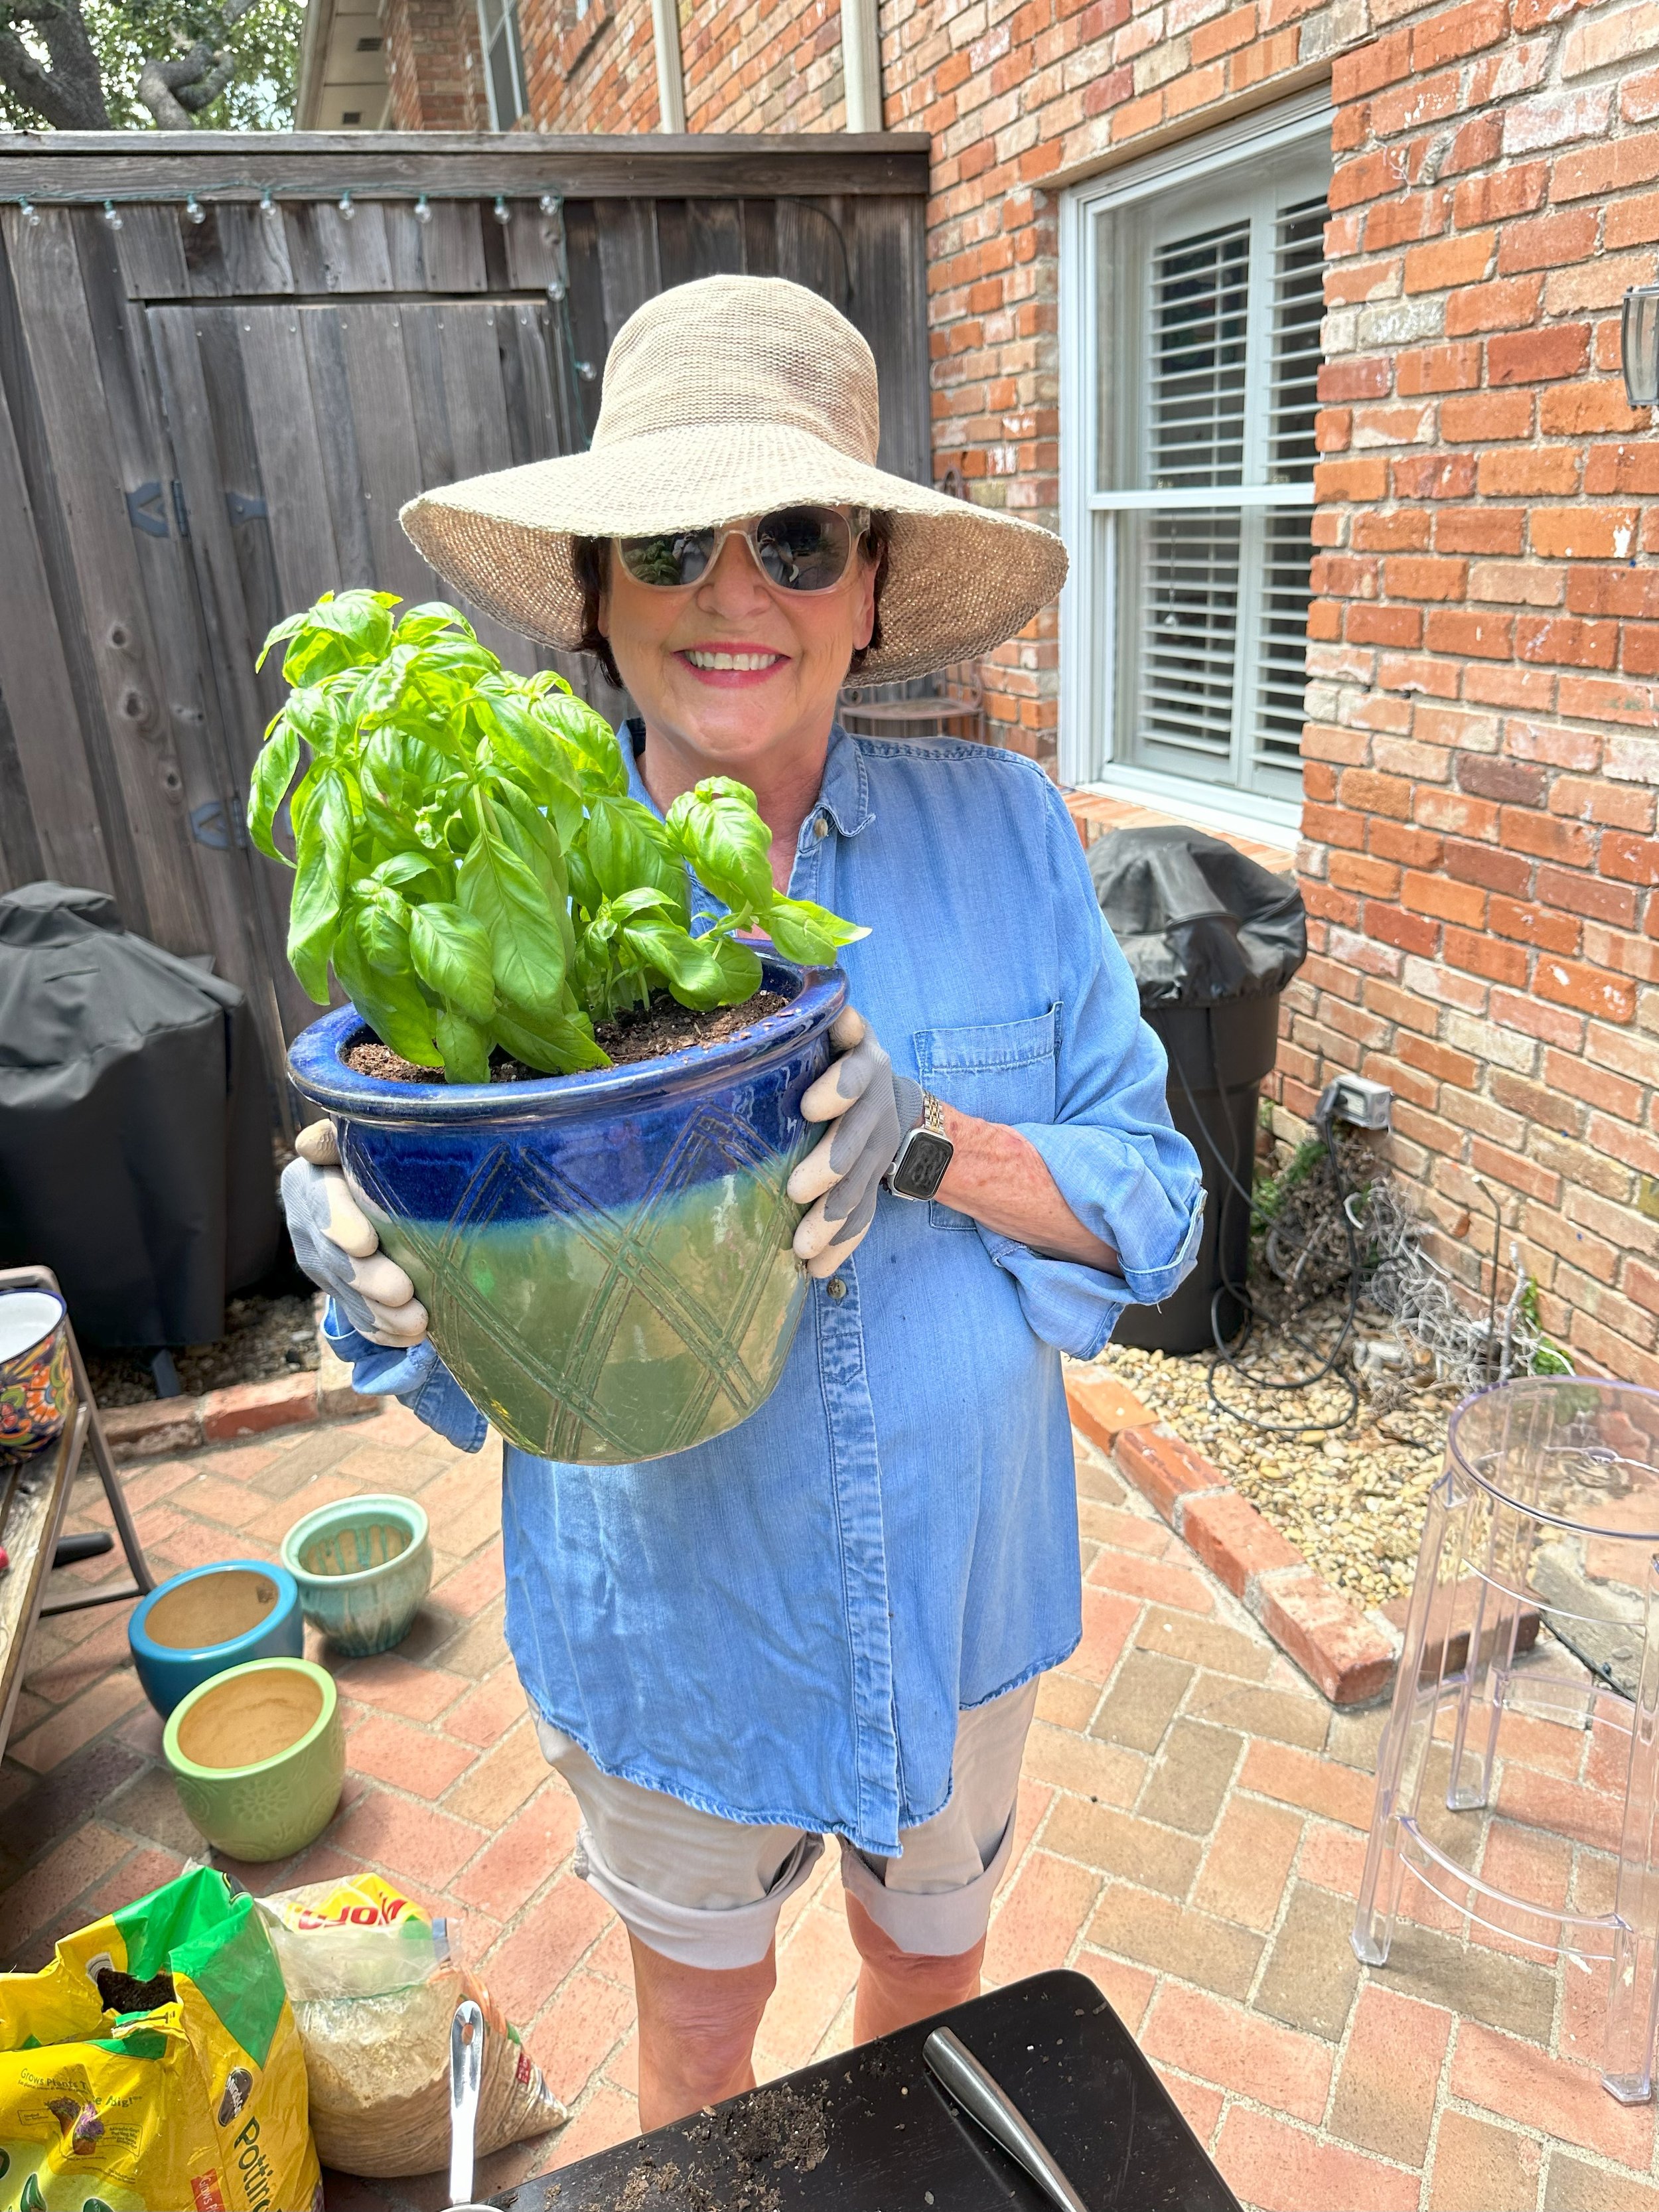
Welcome to a lesson in growing an herb garden! For over a decade, I've been nurturing, snipping, and savoring a delightful array of homegrown herbs. It's a simple and budget-friendly hobby that fills the air with delicious aromas and elevates my culinary creations to new heights. Join me as I share the joys and tips of growing my (and maybe your) own collection —whether you're a seasoned green thumb or a curious newbie, there's something here for everyone. Get ready to have fun, soak up some sunshine, and impress your guests with your garden-to-table masterpiece stand outs.
Let’s get started!
Have you ever picked up fresh herbs from the grocery store just for a specific recipe? I know I have. It always feels like a splurge because those little bundles of herbs can be quite pricey, and they seem to spoil almost immediately unless you treat them with the utmost care. So, why not just stick with dried herbs, right? Well, there's no denying that fresh herbs pack a much more aromatic and flavorful punch. That's why having your own herb garden, whether indoors or out, can be such a game-changer. You get to harvest exactly what you need, whenever you need it, making your homemade meals that much more delicious.
I live in a condo where the outdoor space is small, so I am limited to a few pots. I typically choose 5 or 6 of my favorite kitchen herbs: must-haves for me are basil, rosemary, and thyme. This year I added sage, mint, and a pot of petunias for color. While I love oregano and tarragon, they didn’t make the cut this year. I have not had good luck with parsley, cilantro, chives or dill. They grow better in the ground than in pots, they don’t reproduce quickly, and they last a long time if refrigerated. I prefer buying a bunch at the grocery store when I need it.
What You Need to Get Started

SIMPLE PROCESS: Choose herbs, add pots, potting soil, rocks, fertilizer, gardening gloves, and a small spade
Step-by-Step Process for Planting Each Herb Pot
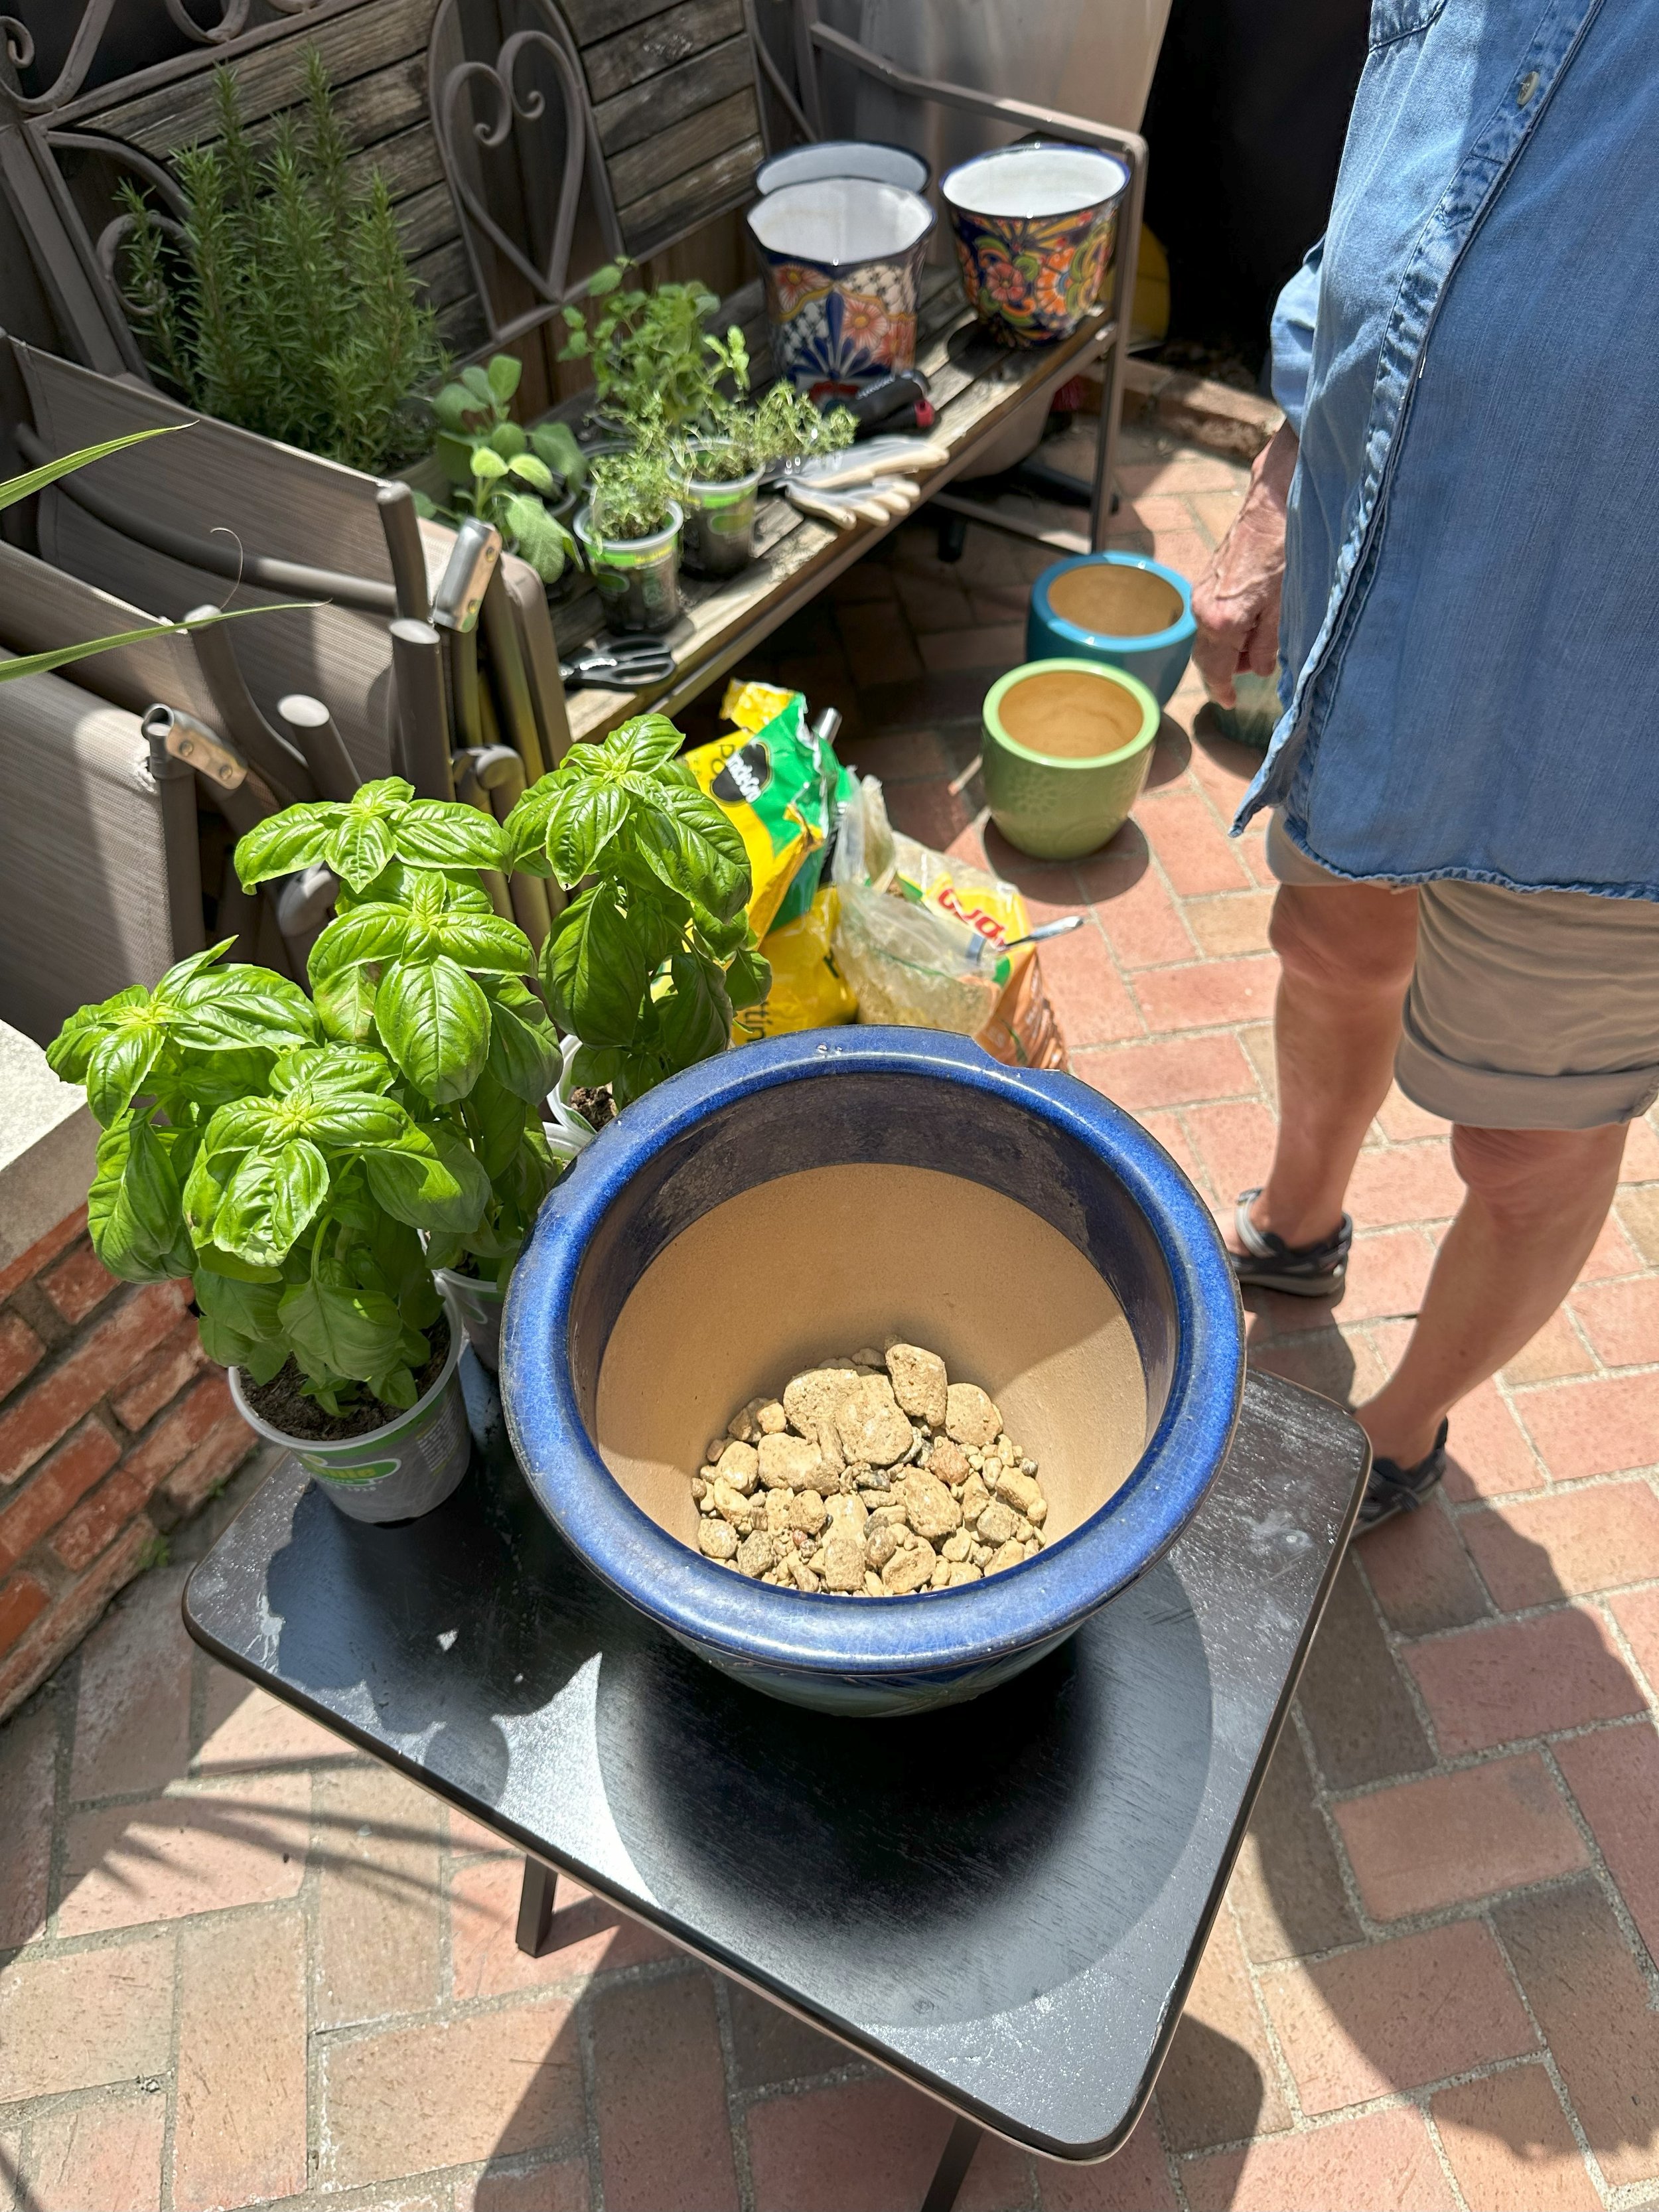
ADD ROCKS: Depending on the size of the pot, add 2-3 inches of rocks to improve drainage.

ADD DIRT: Add a couple of inches of high quality potting soil.
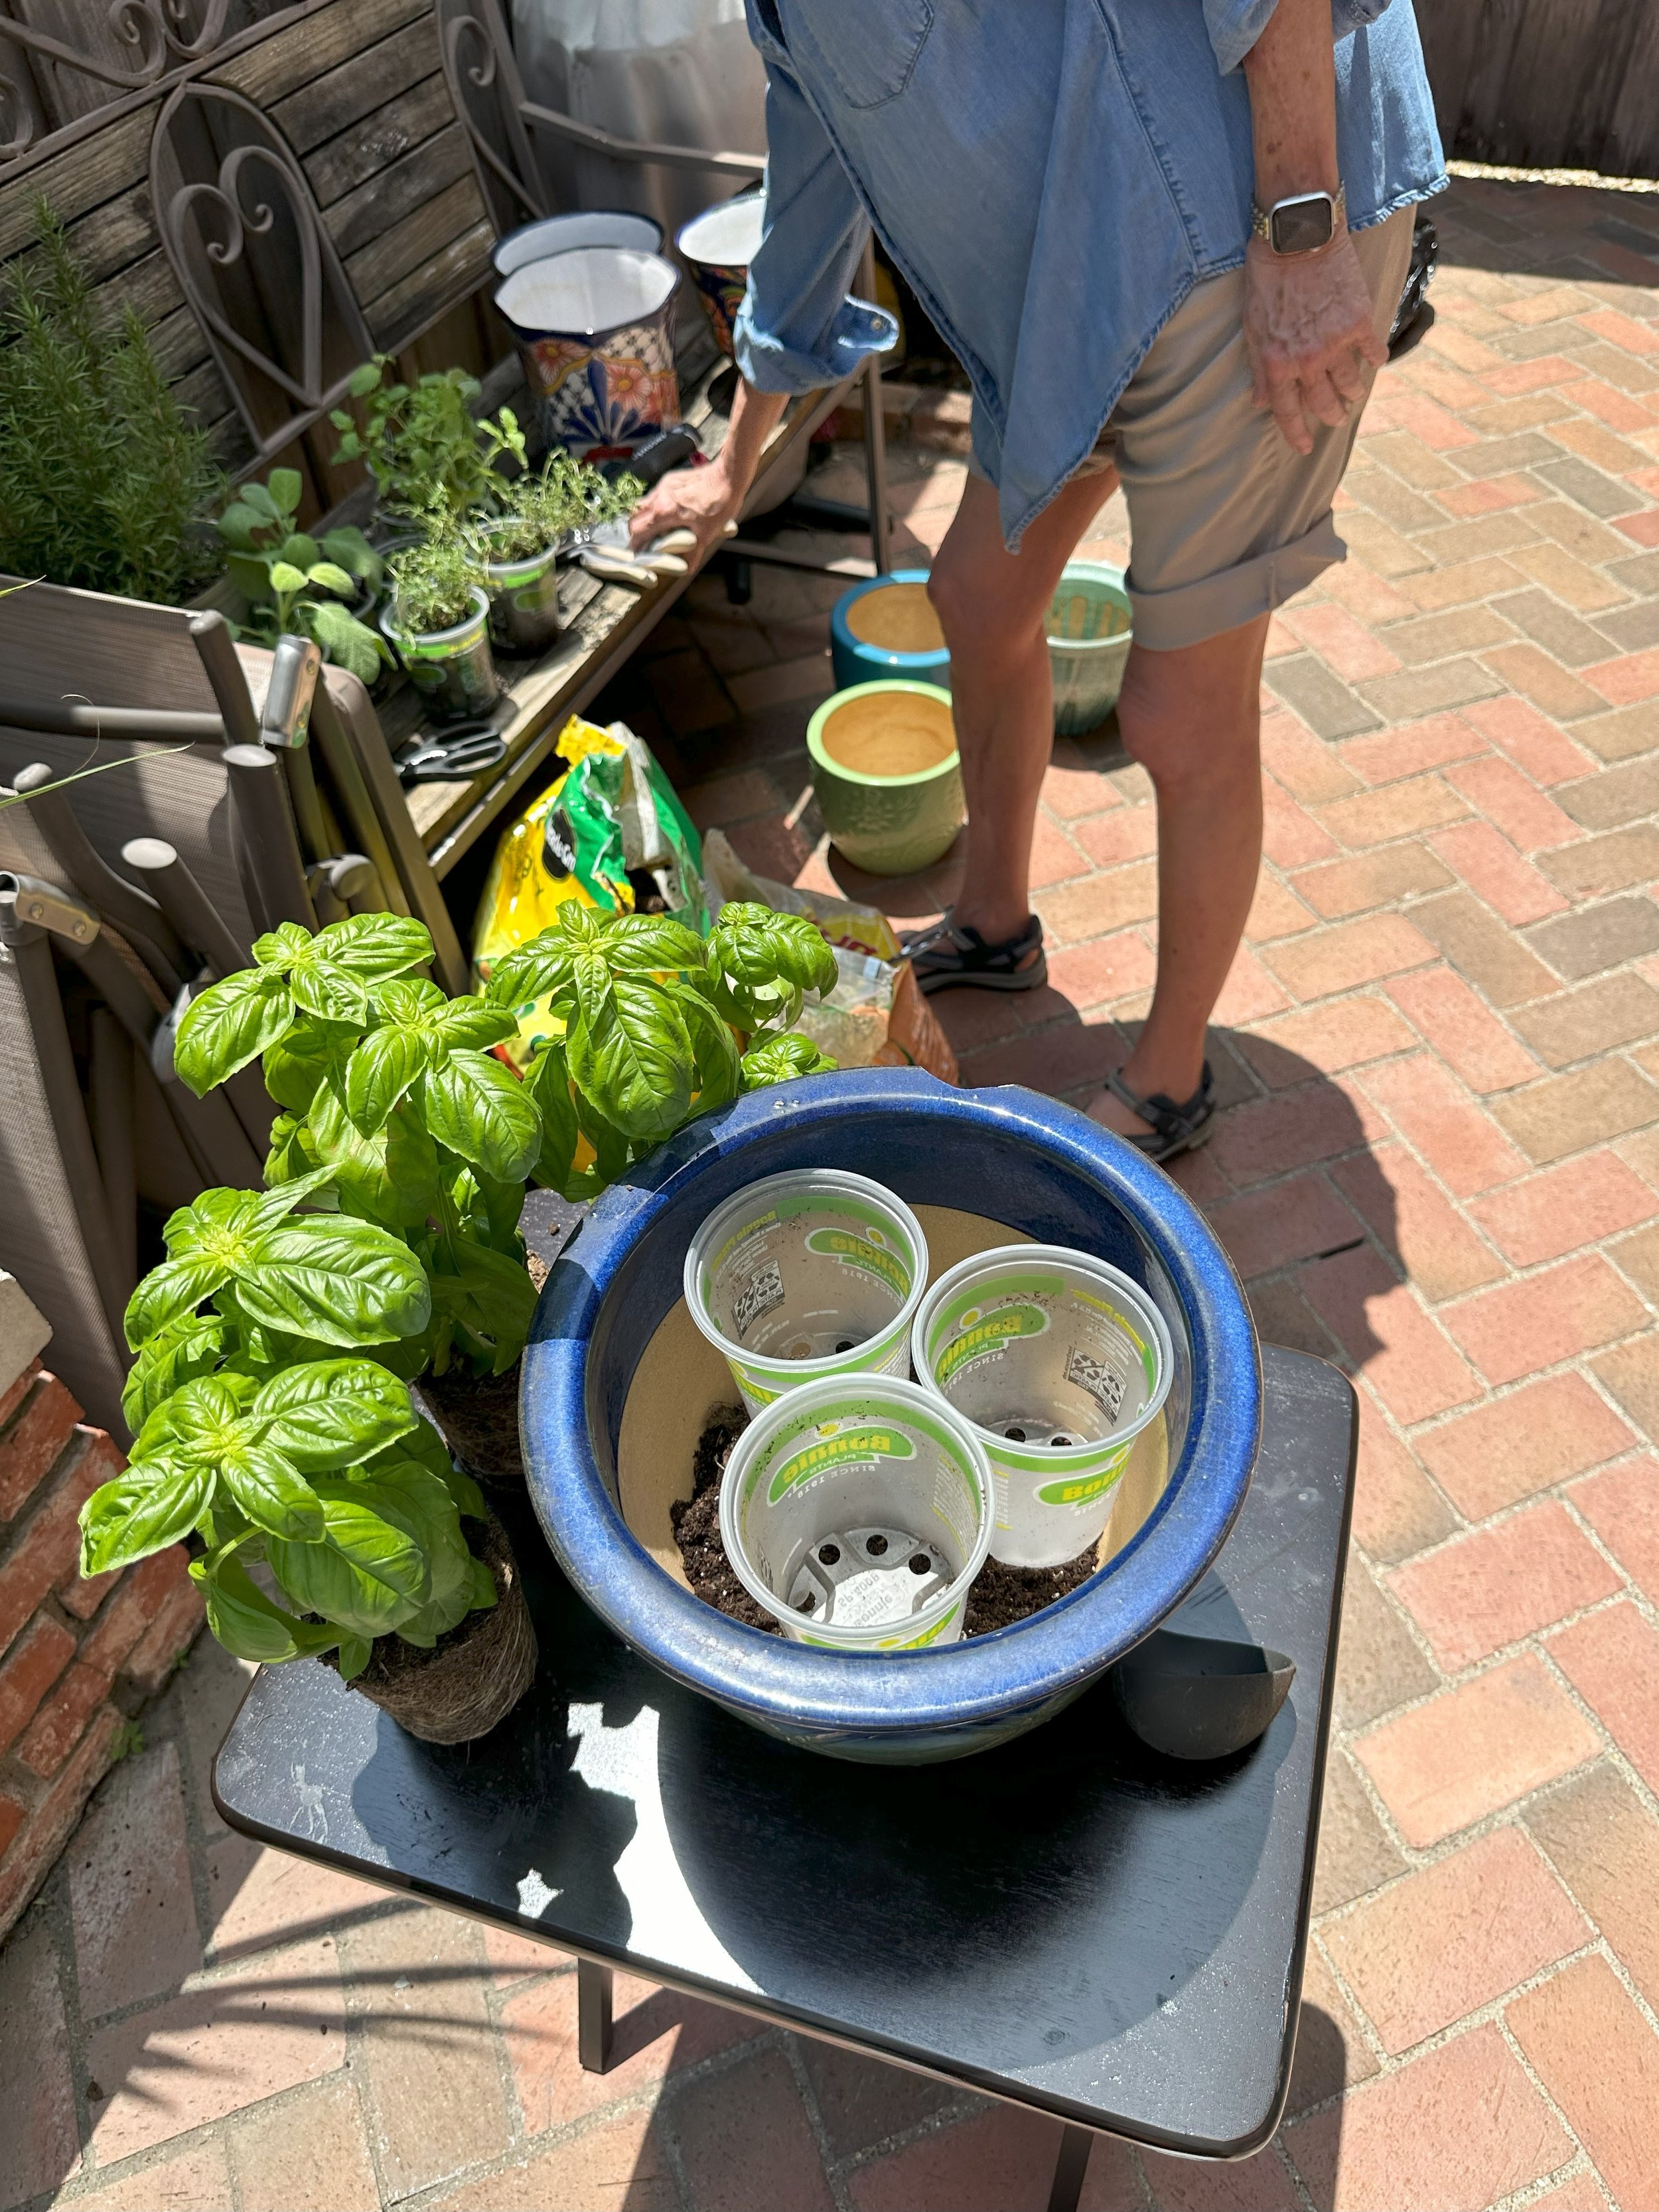
PREPARE FOR PLANTING: Take the plants out of their containers and set the containers in the pot on top of the dirt.
ADD MORE DIRT: Fill the pot as full as you can around the cups. Pack the soil tightly around the cups.
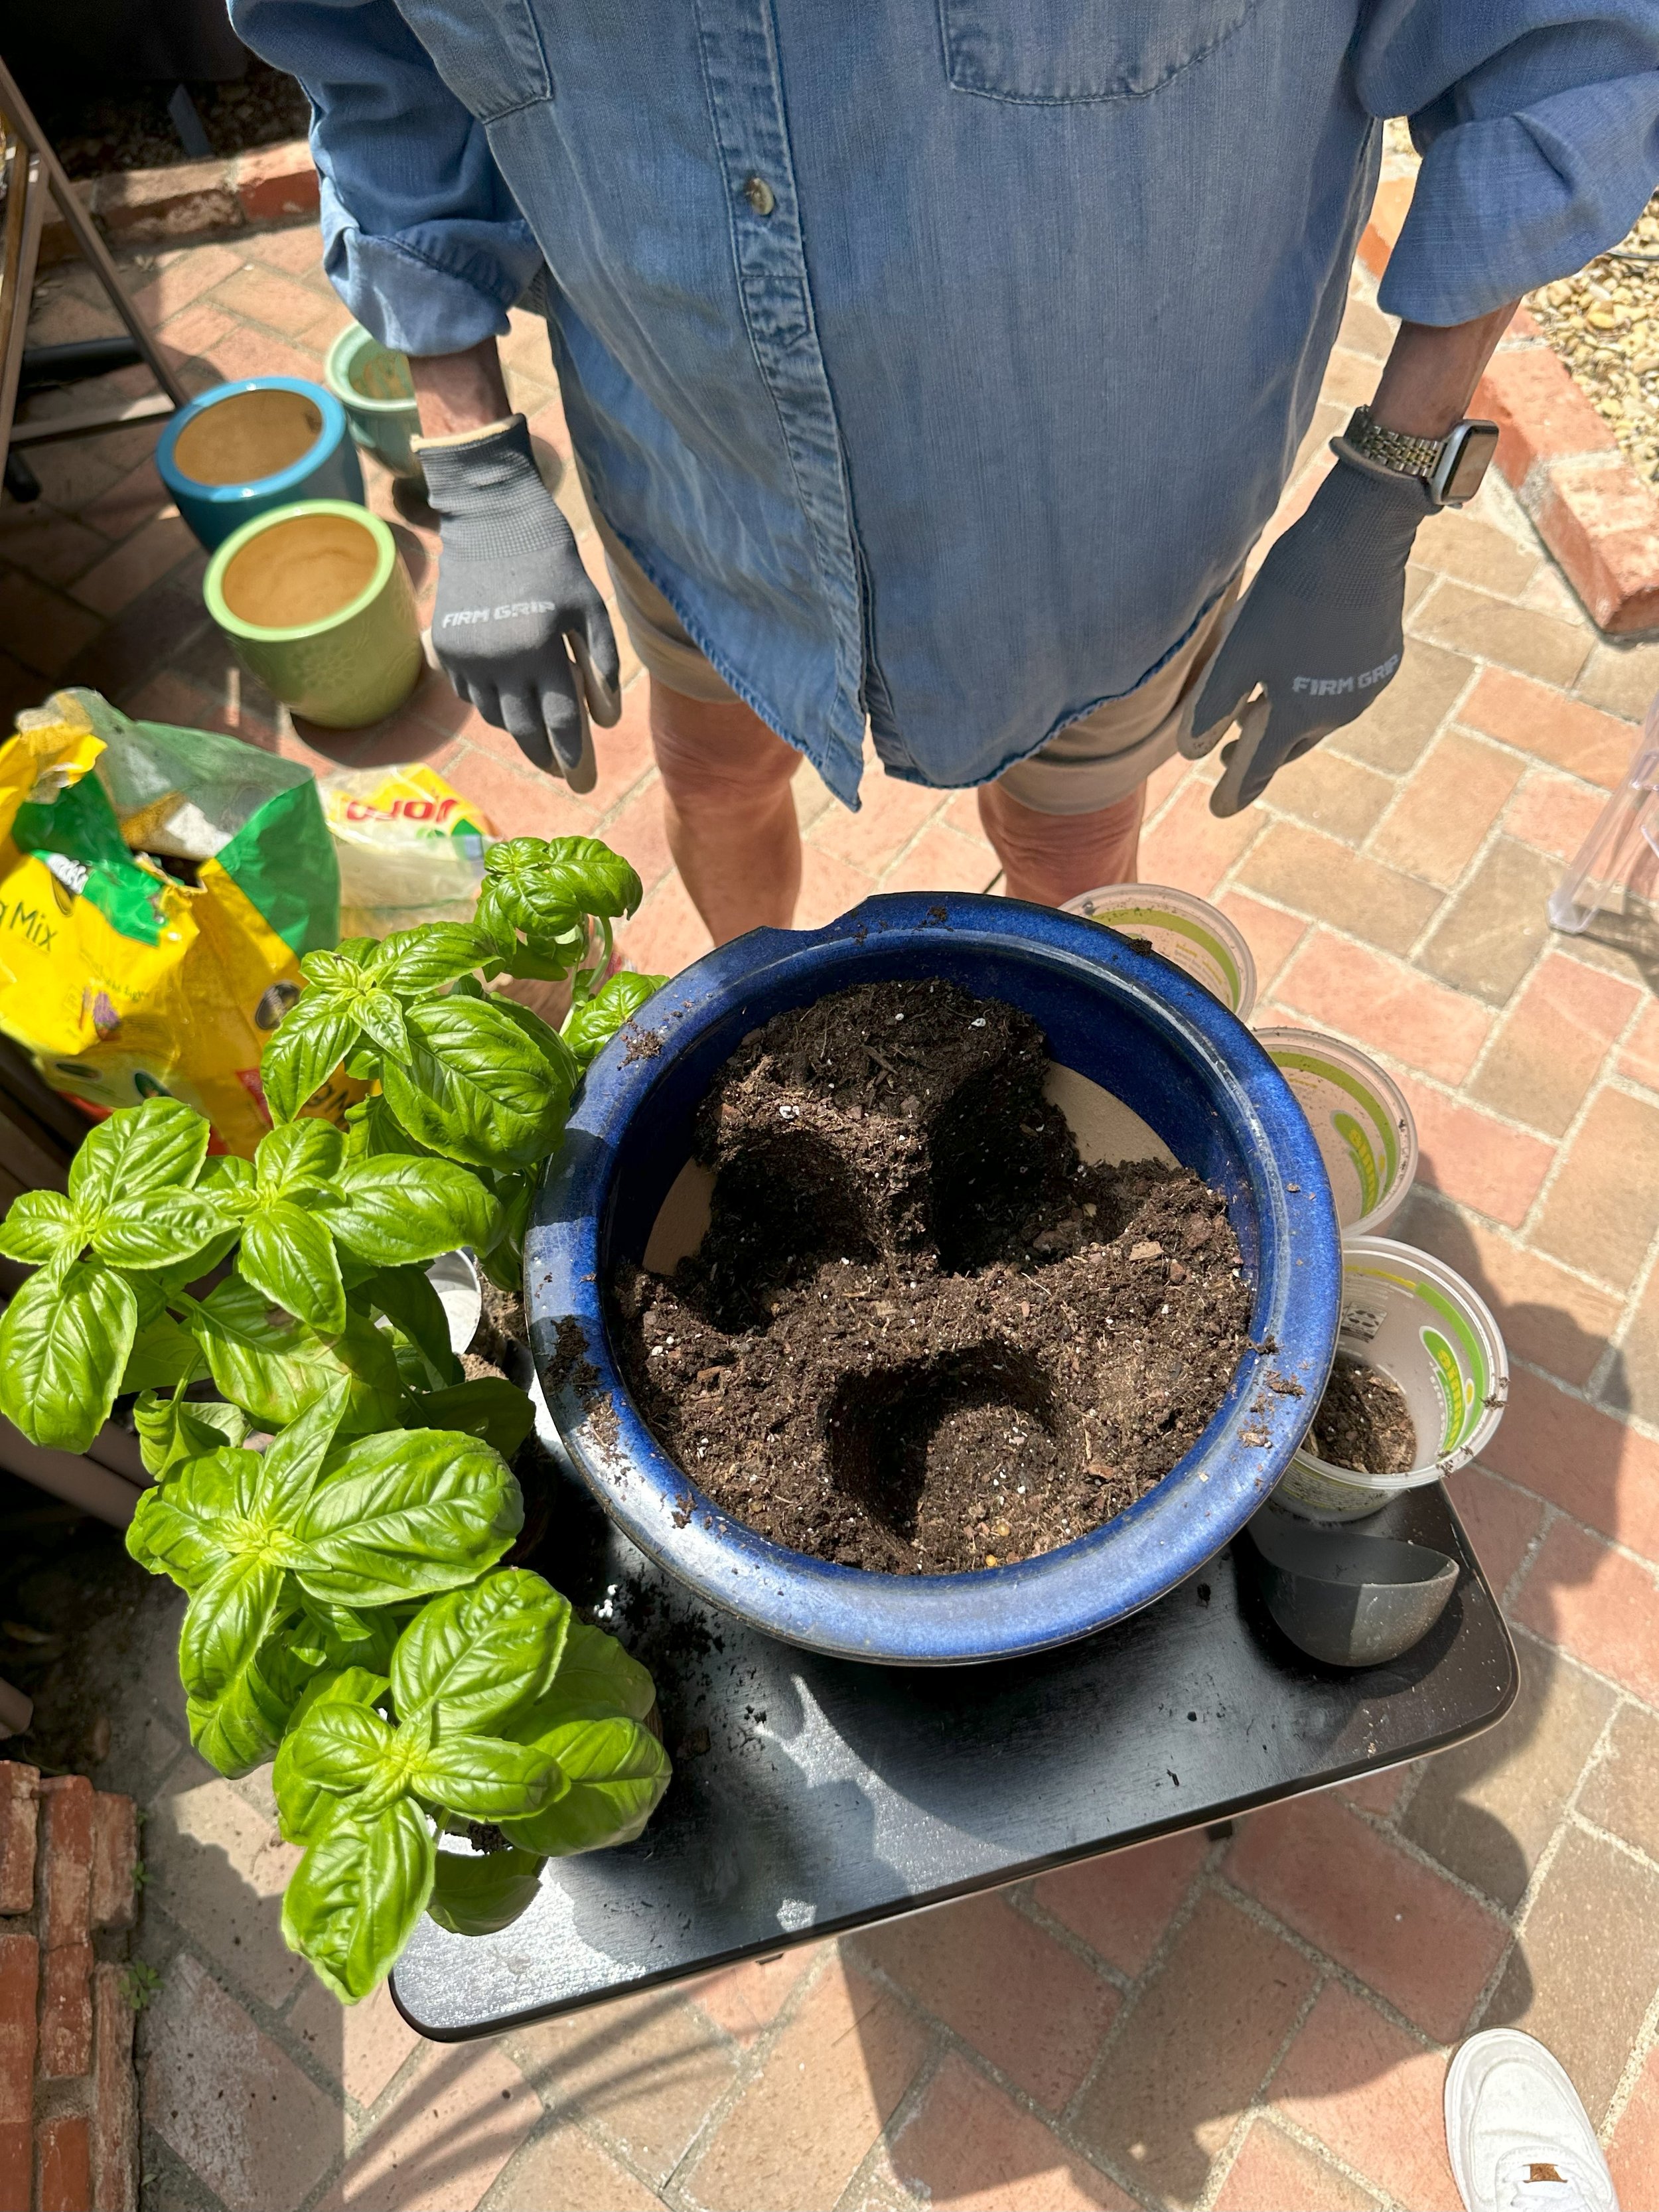
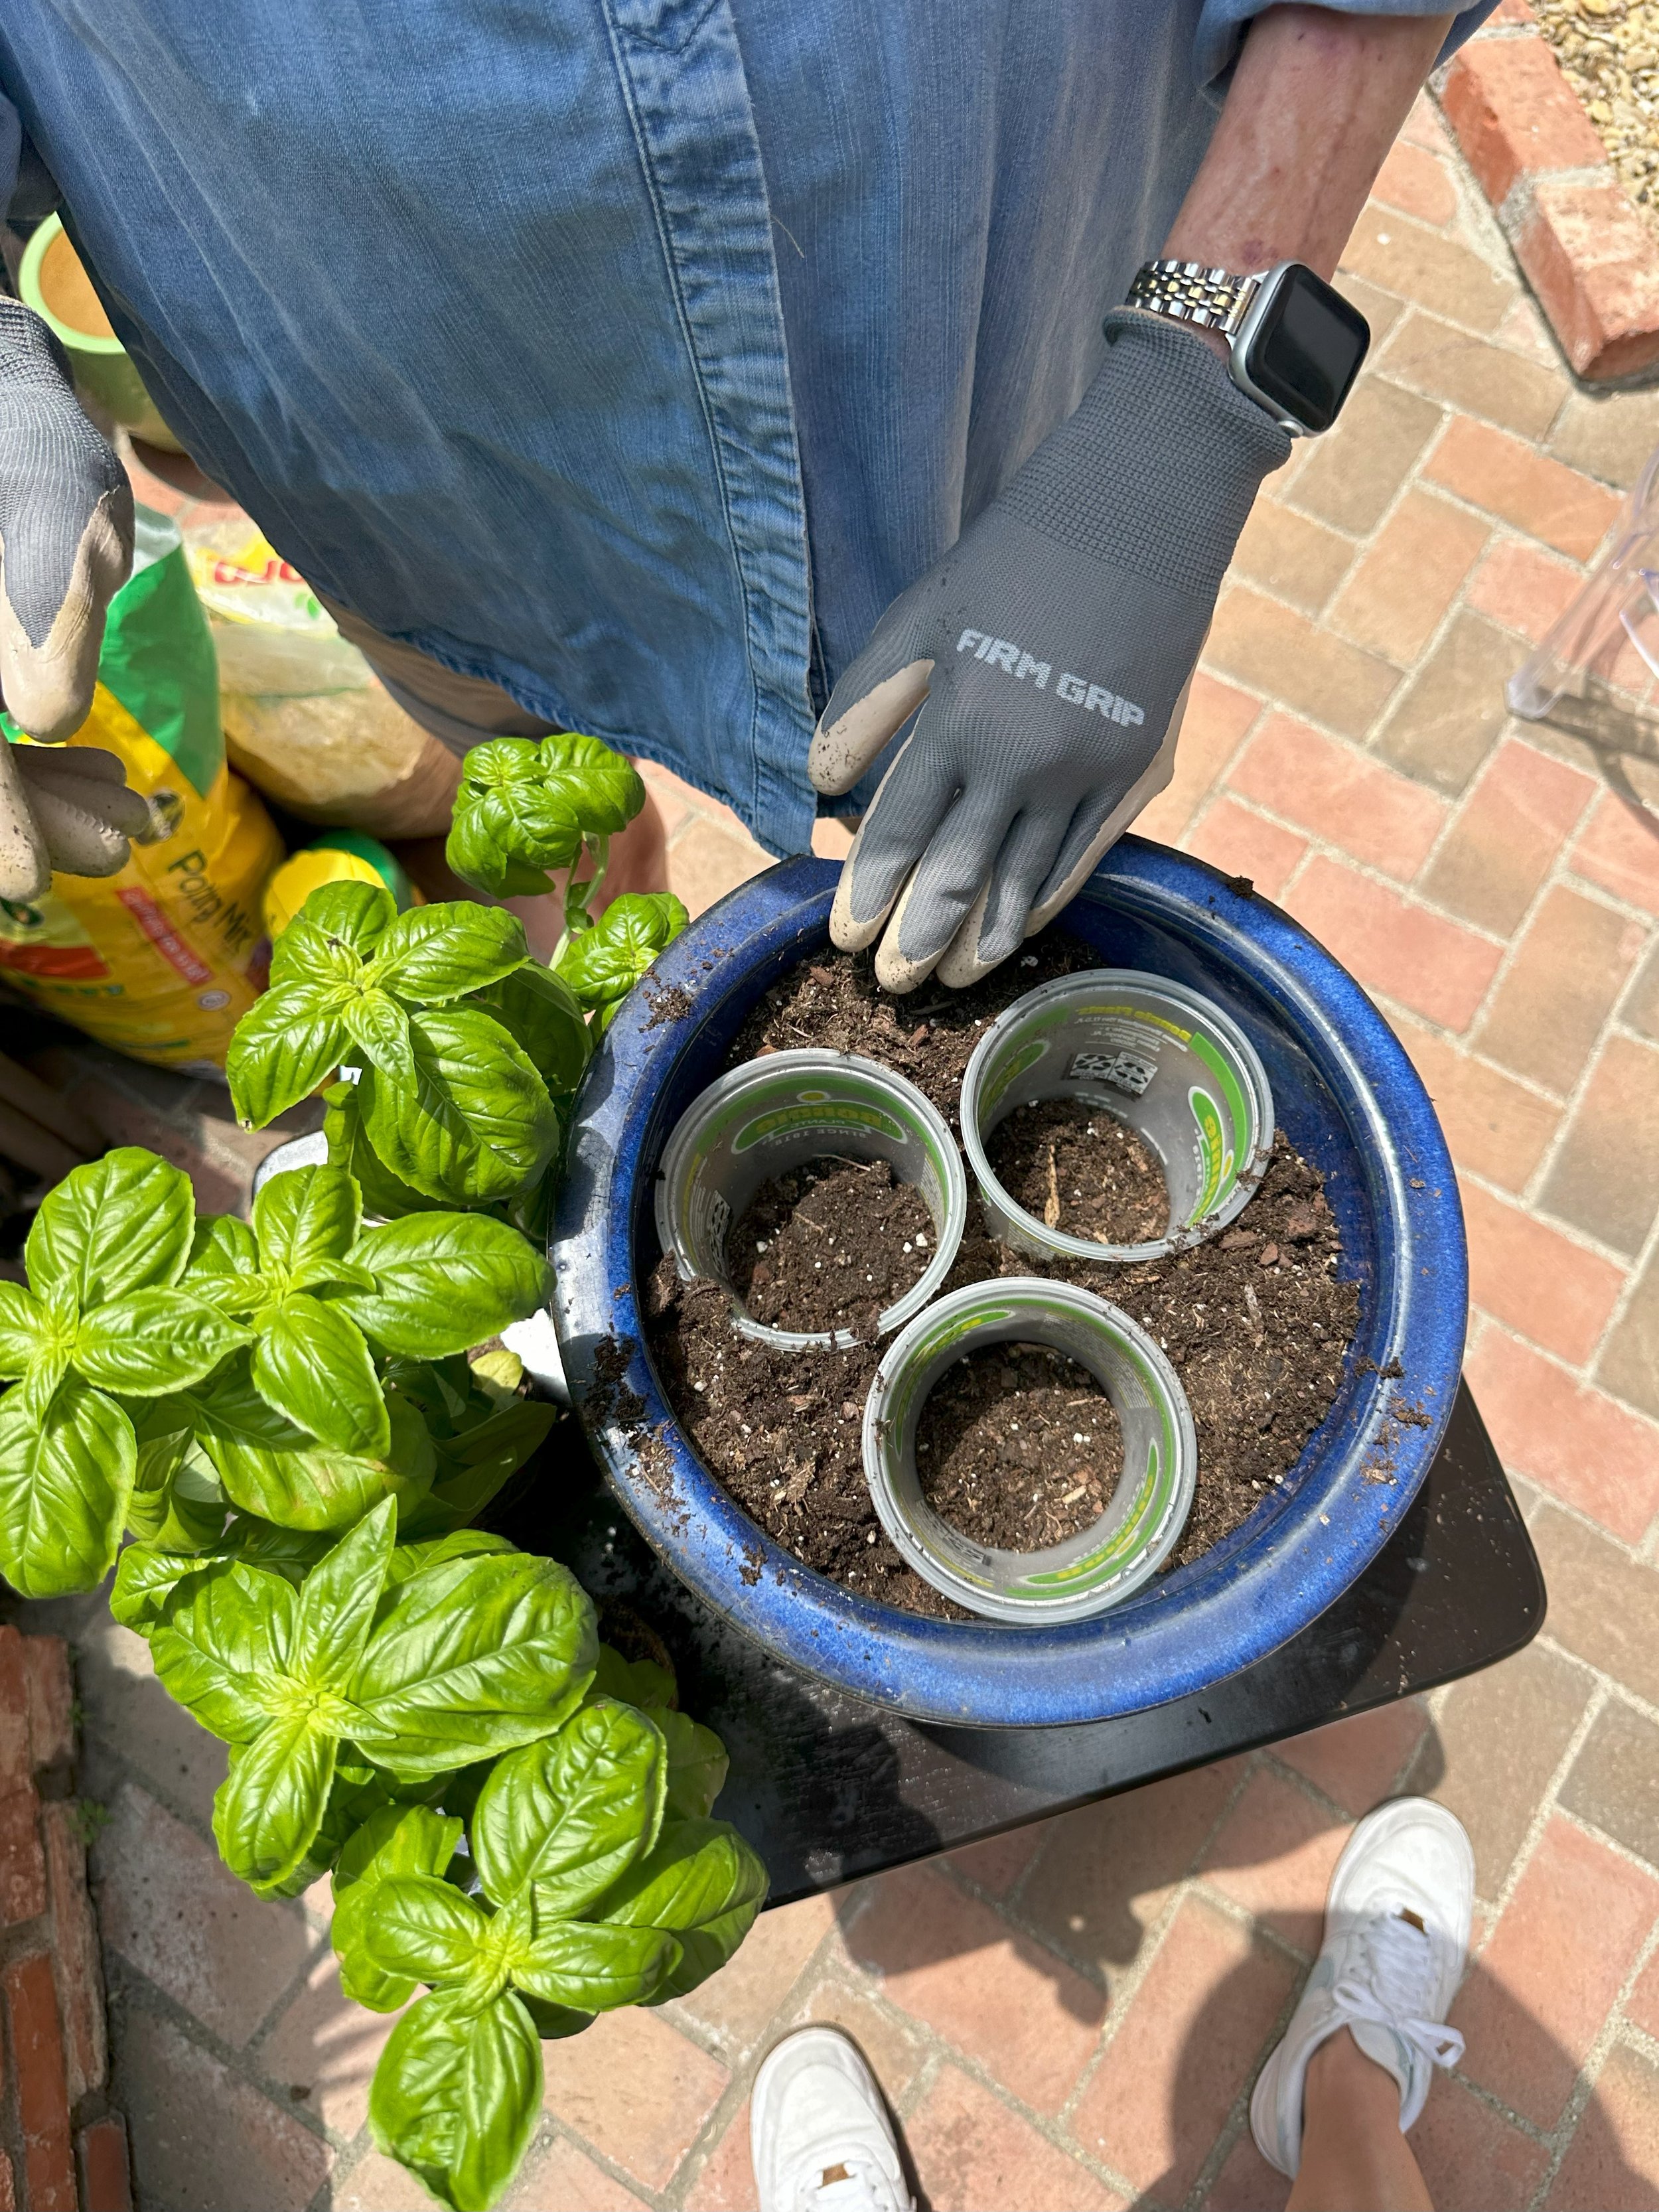
REMOVE THE CUPS: Try to keep the holes in the soil as solid as possible.
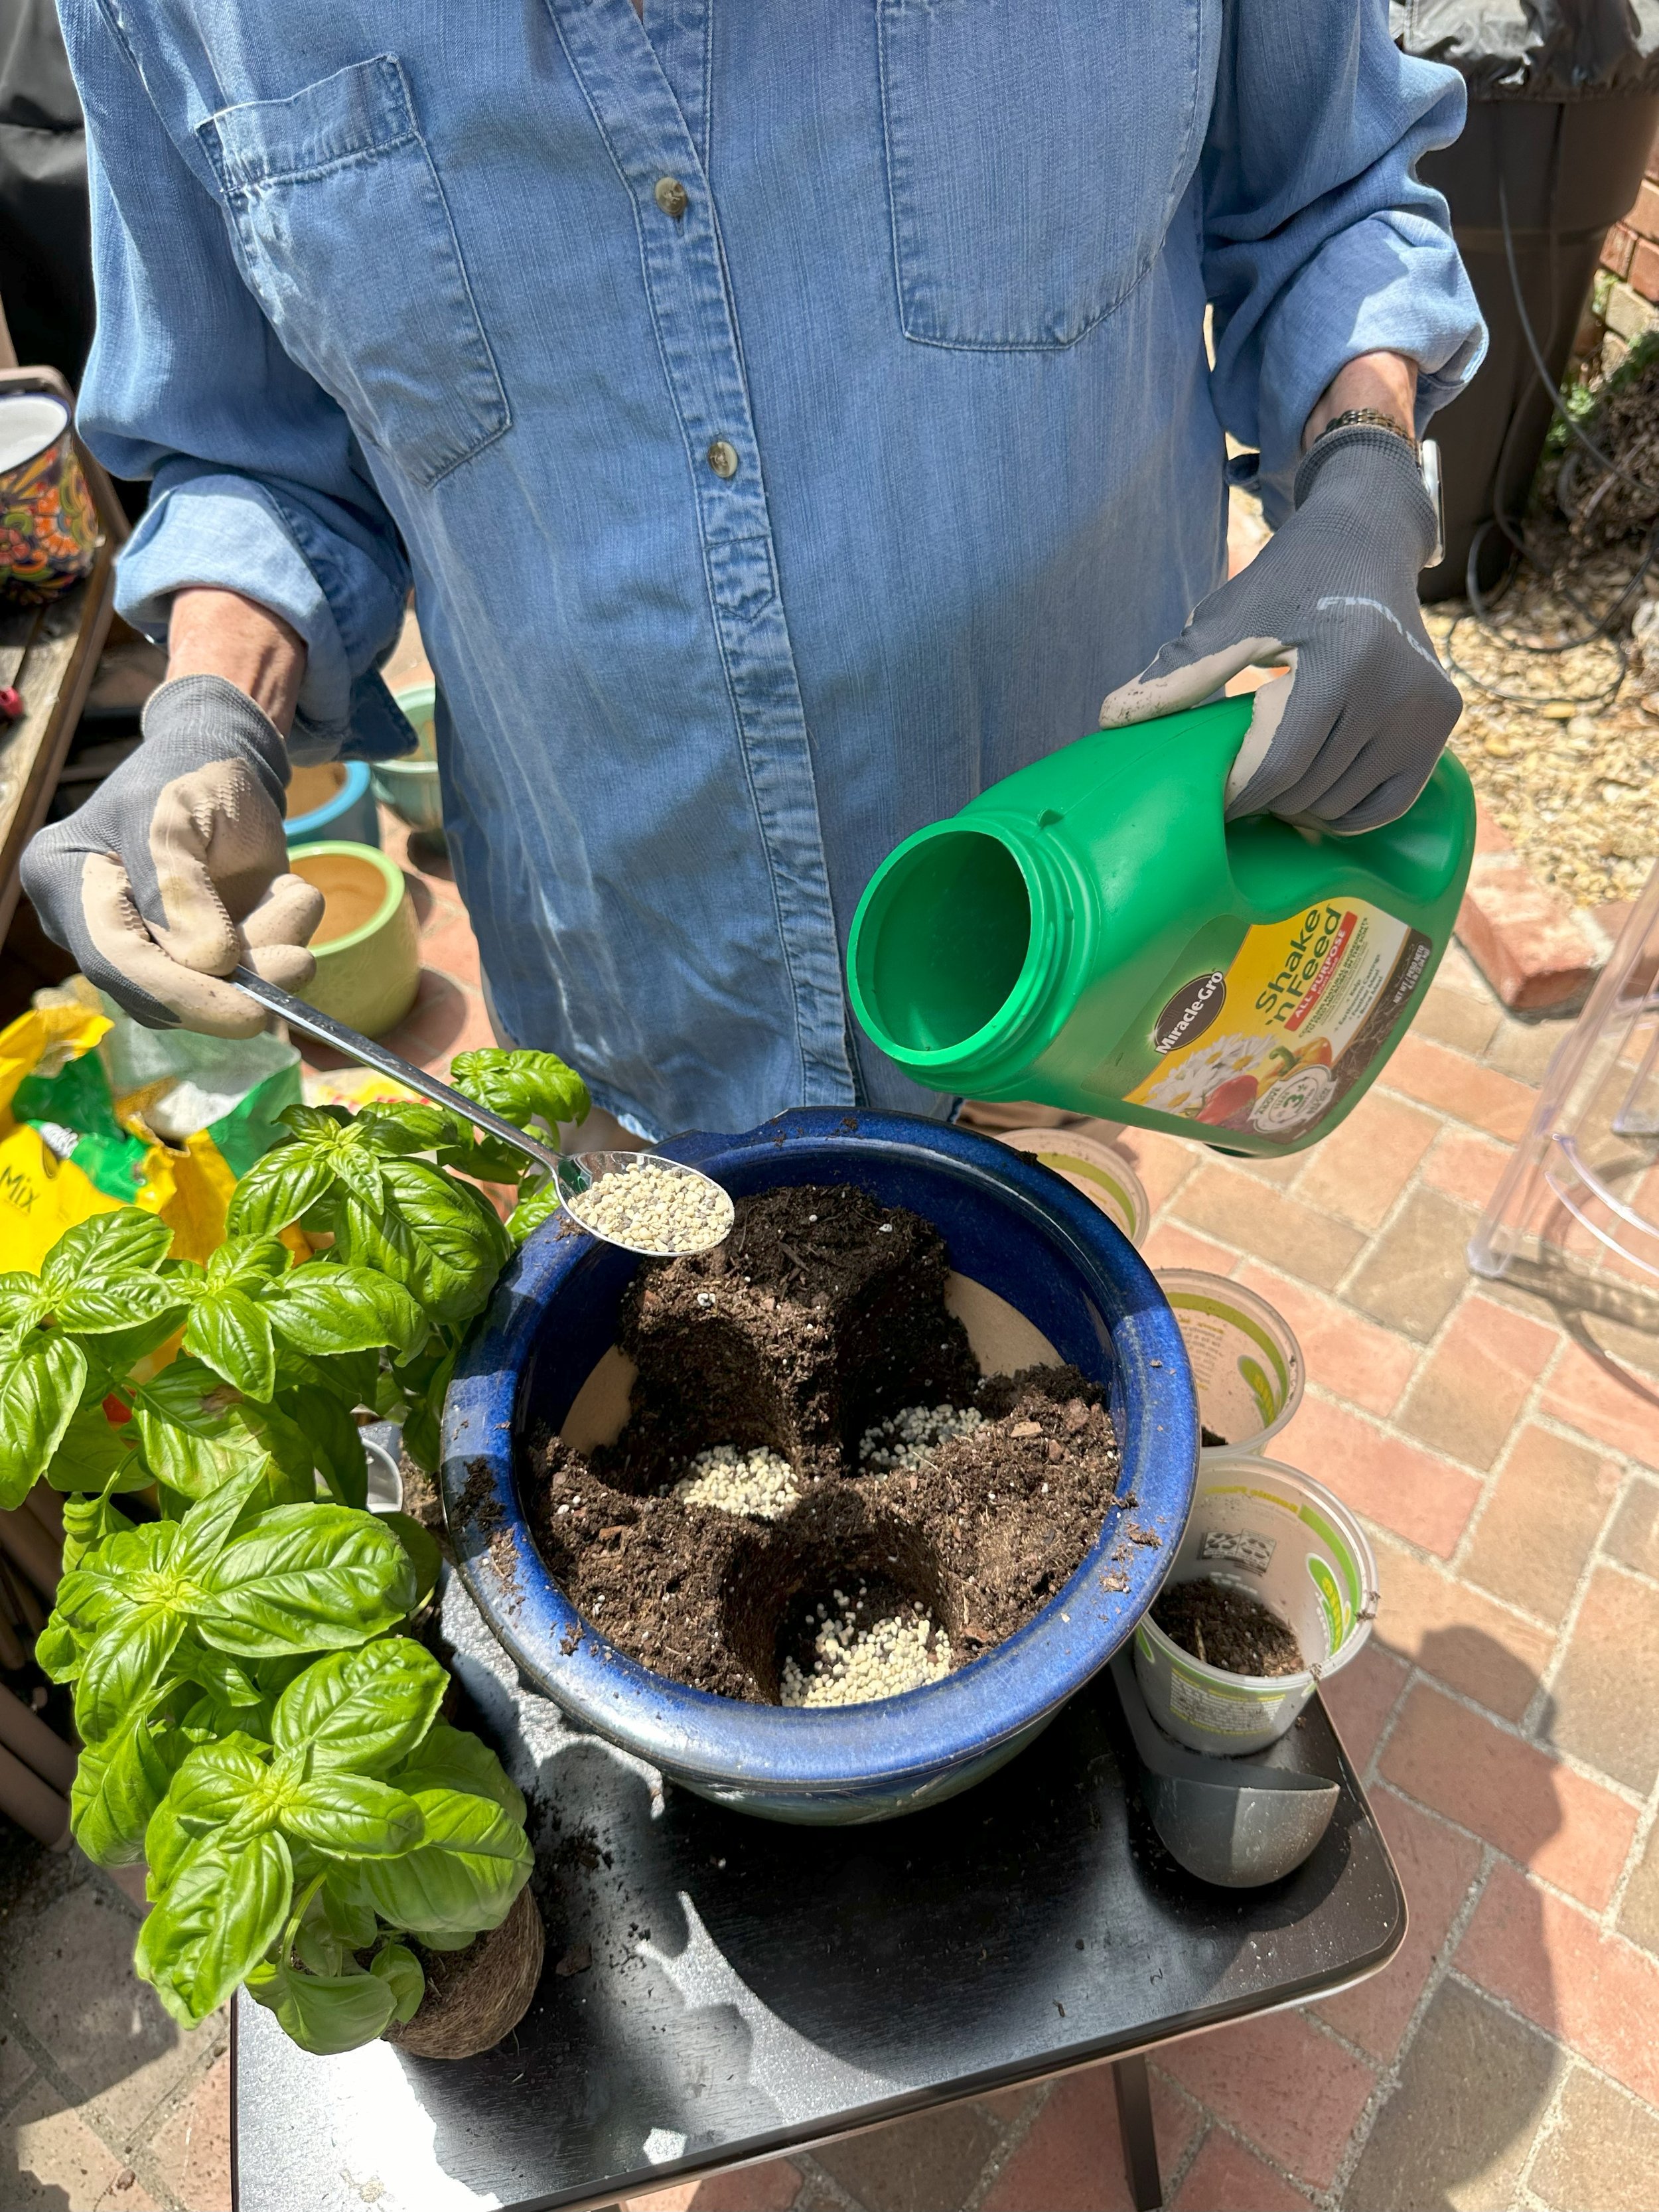
FERTILIZE: Add one teaspoon of fertilizer to each hole.

PLANT: Place one plant into each hole. Fill the rest of the pot with as much soil as possible.
AND THERE YOU HAVE IT! Ready for some delicious summer dishes! Don’t worry - I’ll post some recipes soon!

Complete the process for all your herbs and add them to your garden display.
Enjoy your herb garden all summer long!
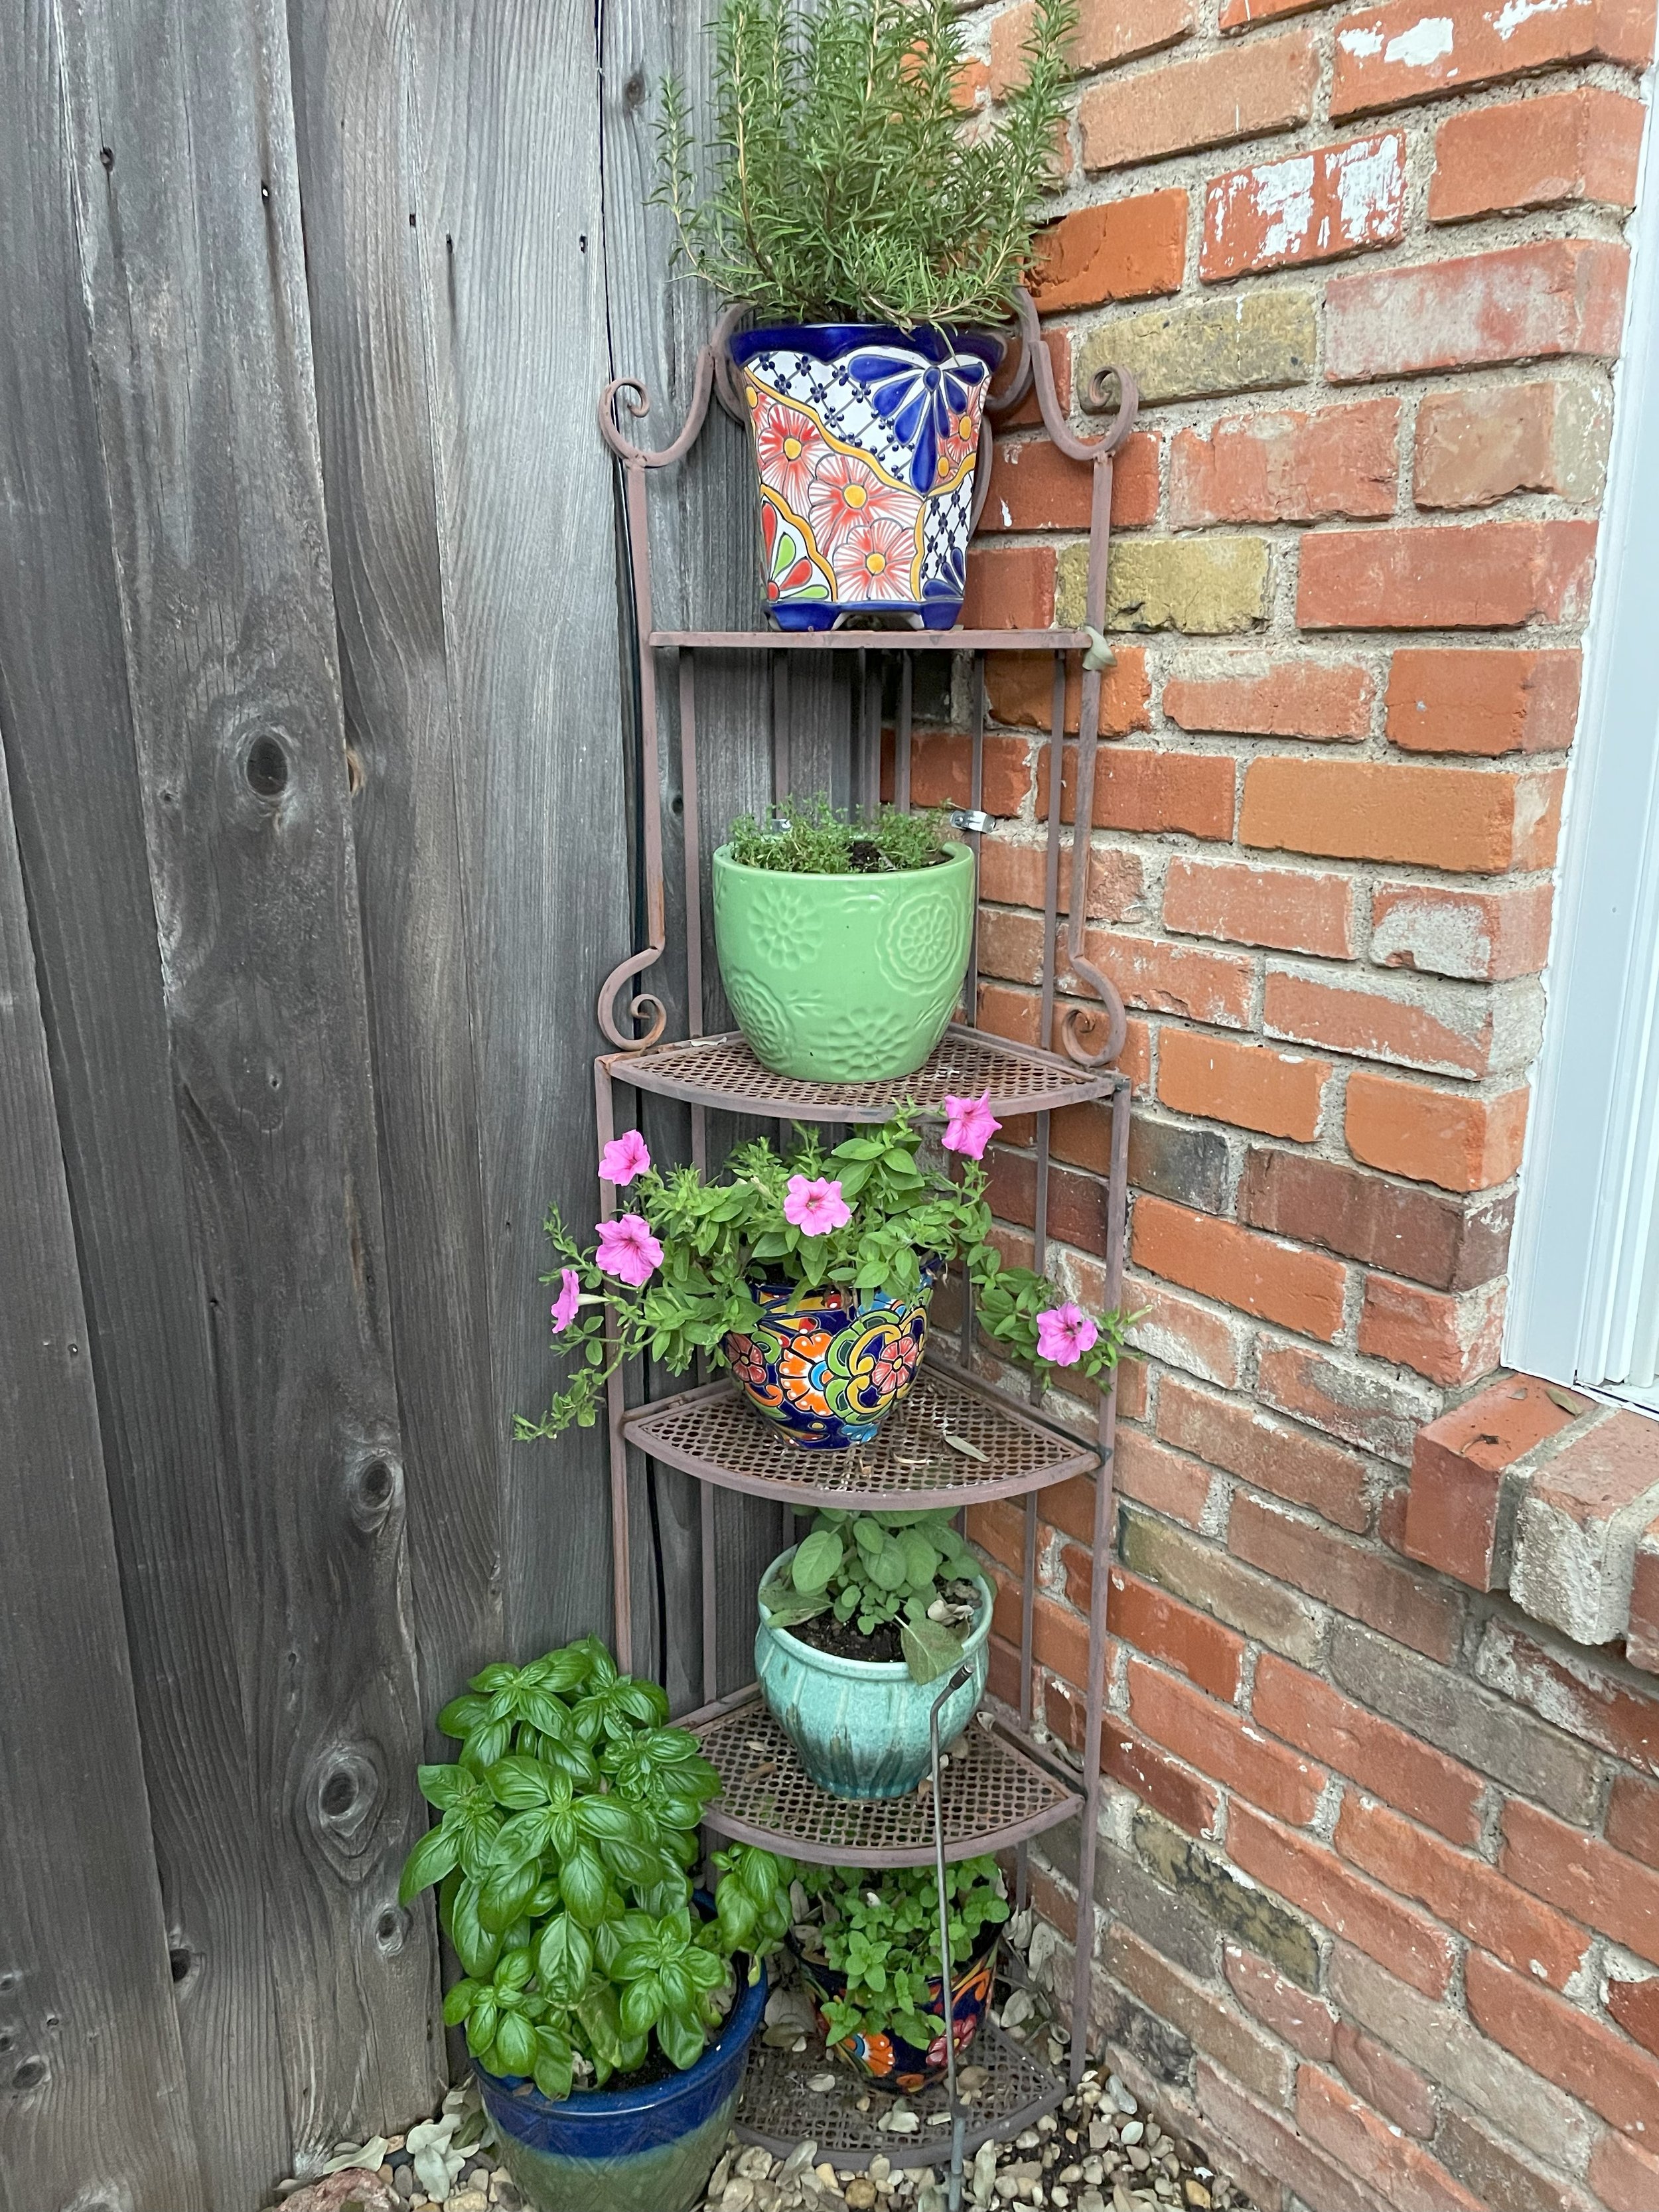
Voila!